Trusted by 150,000+ Twitter addicts who said “I’ll just scroll for 5 minutes” — 3 hours ago


Trusted by 150,000+ Twitter addicts who said “I’ll just scroll for 5 minutes” — 3 hours ago
Ensure you have GSAP. It can be loaded natively via Webflow or through a script tag.
NOTE: GSAP via Webflow is available only for paid site plans 🥹
if u are want to add GSAP via custom code, go to next step.
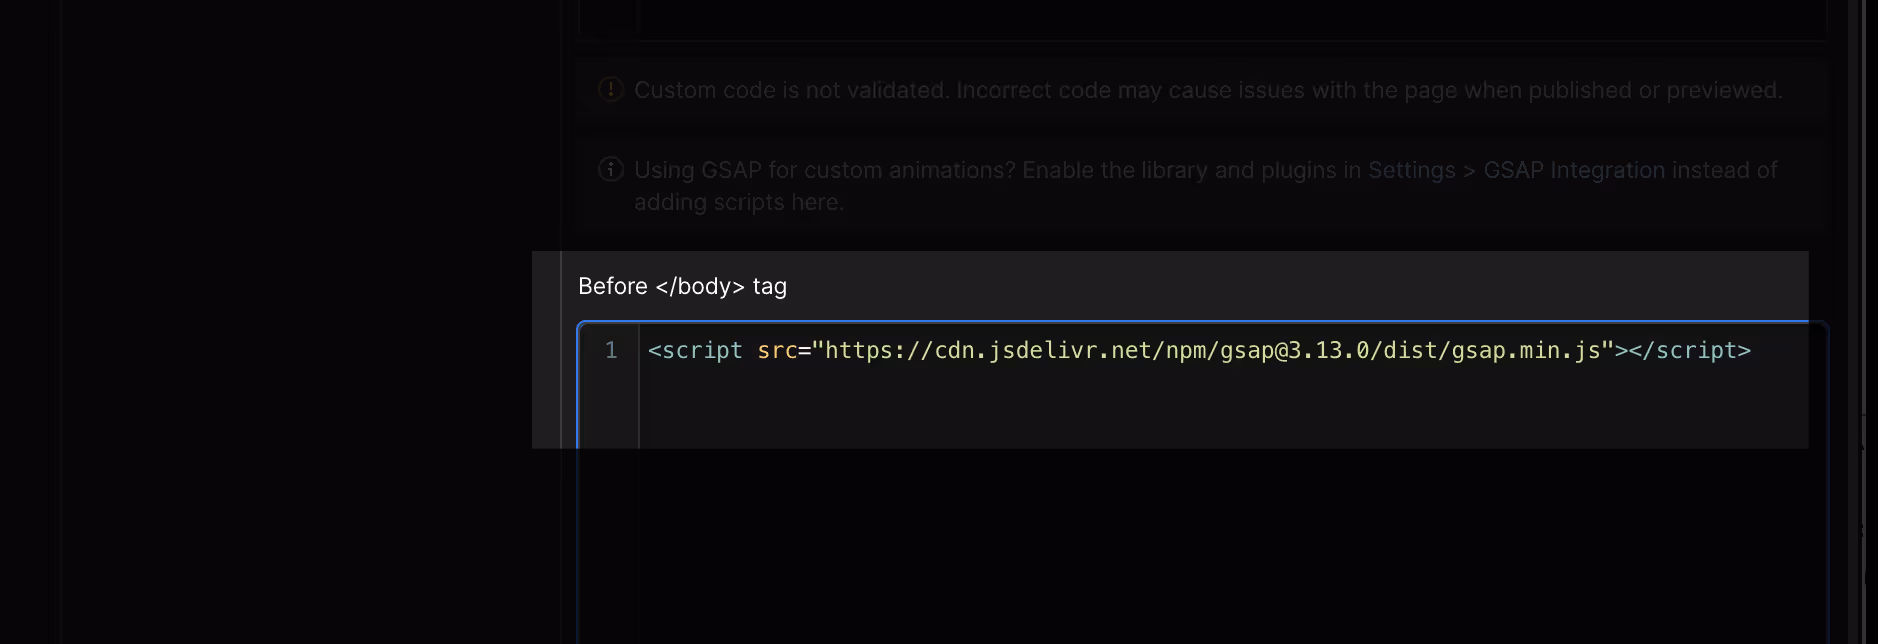
Here is the GSAP setup using a script tag:
<script src="https://cdn.jsdelivr.net/npm/gsap@3.13.0/dist/gsap.min.js"></script>
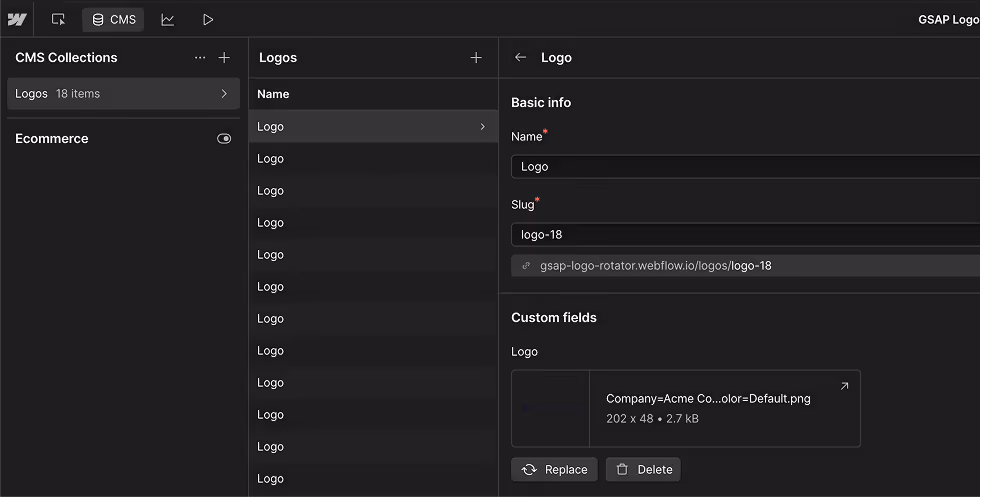
Prepare your CMS or use an existing one.
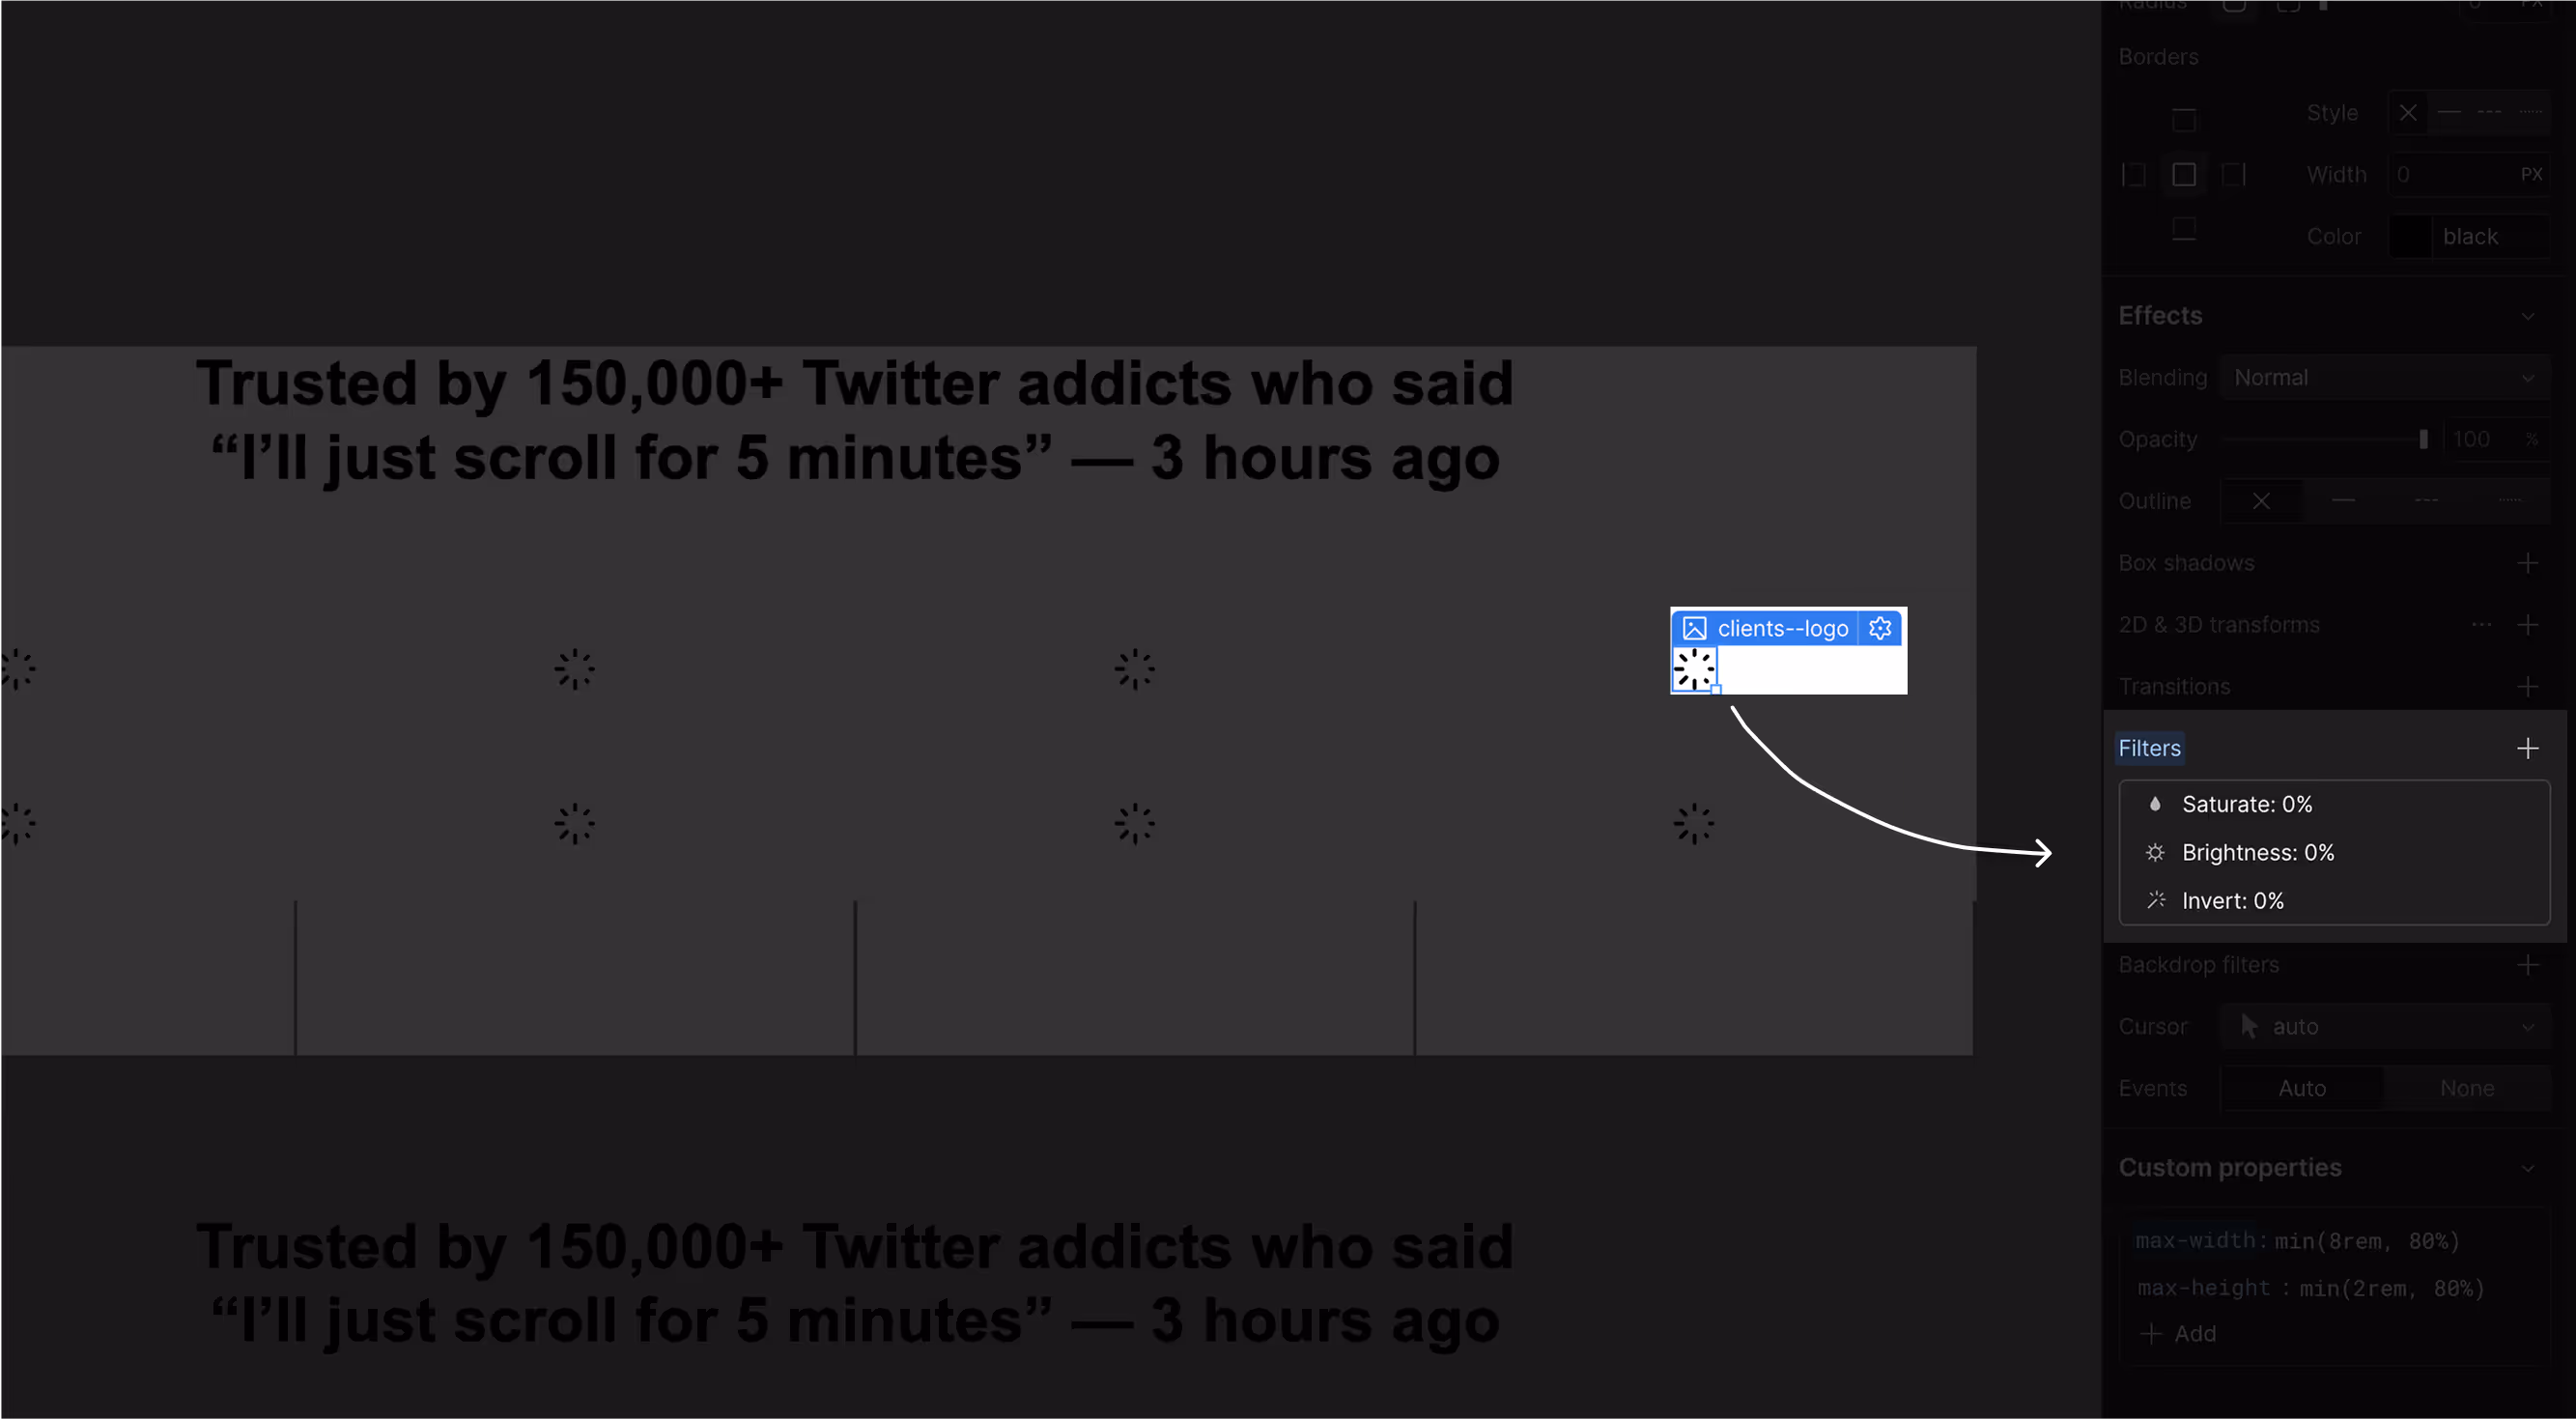
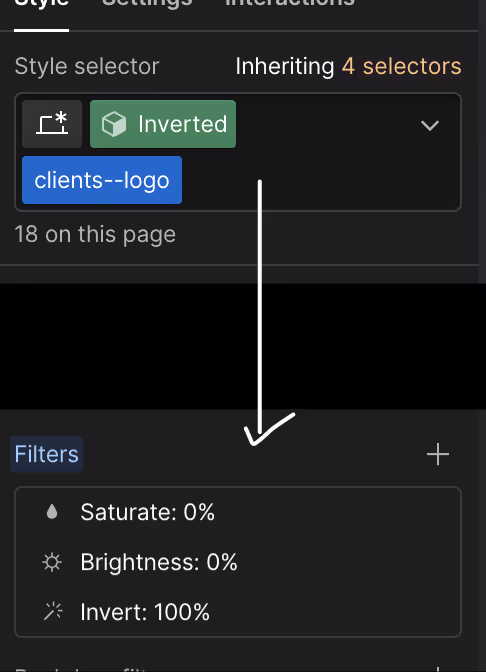
You don’t need to upload a monochromatic version — we turn them black and white via CSS filters.
You can keep it like that, or if you prefer to use colored logos, just remove those settings:
Click on the IMG > Filters
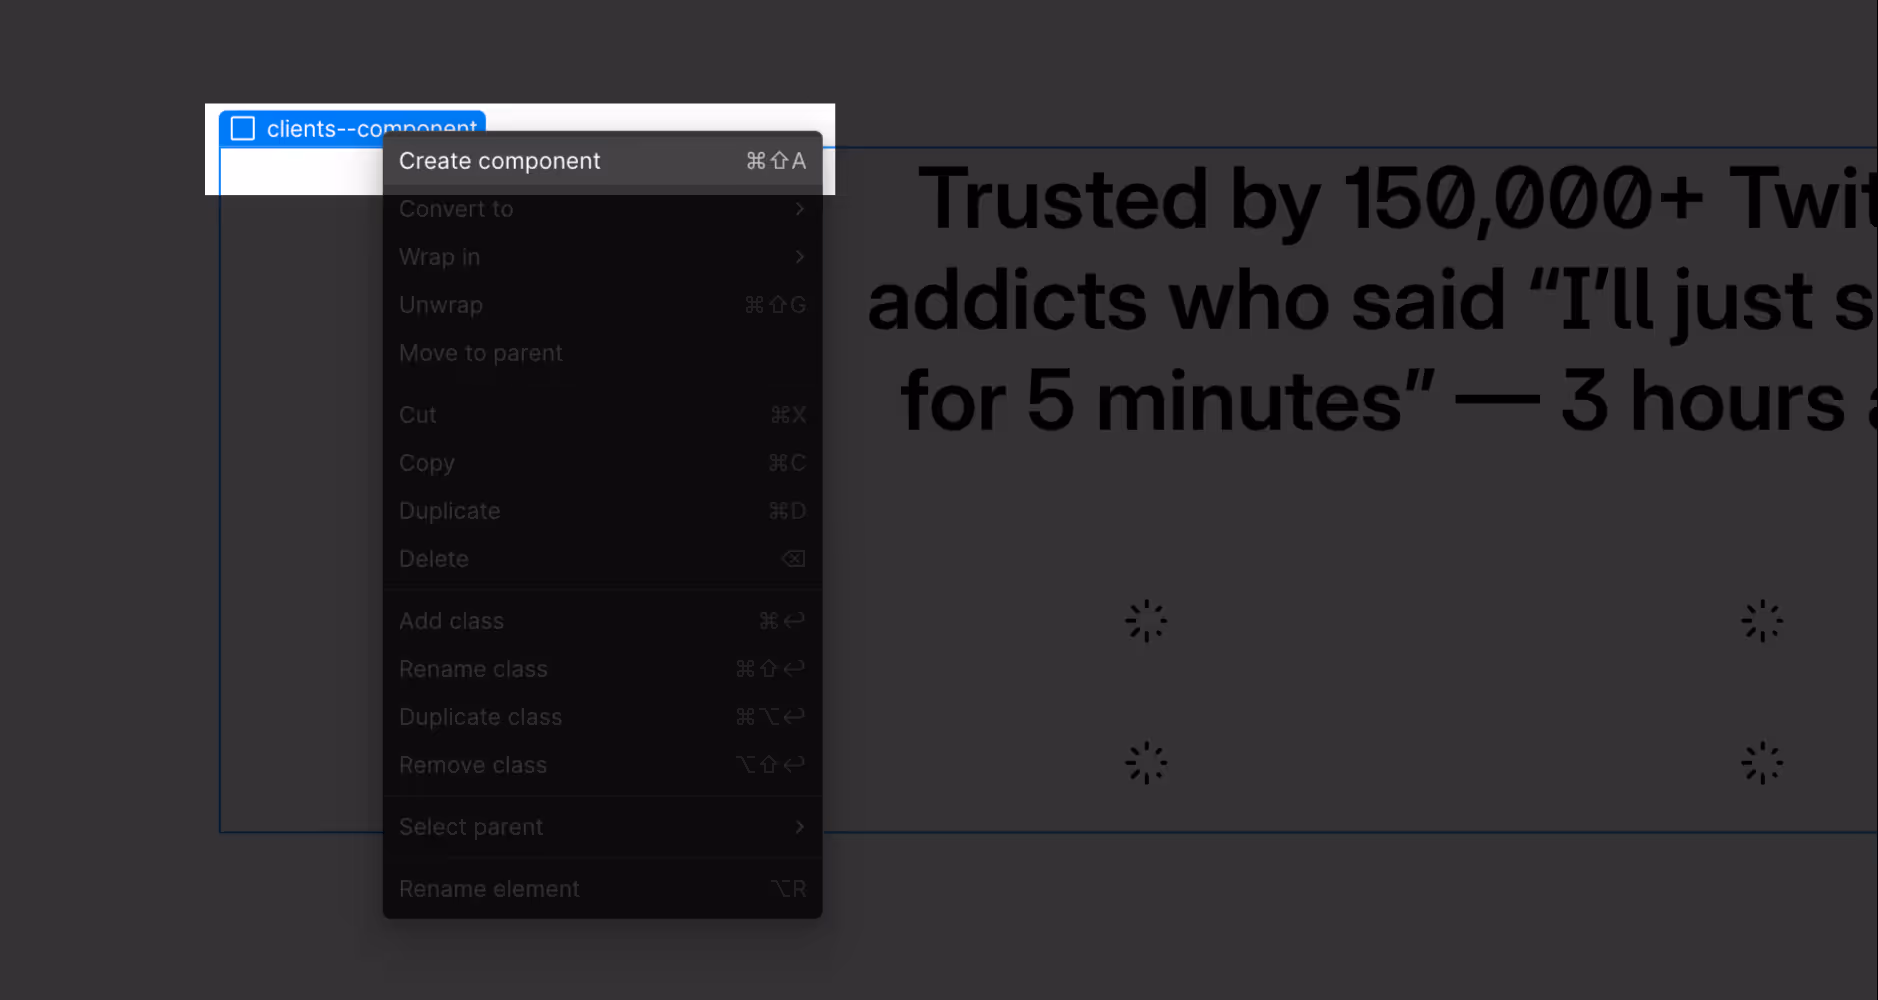
Copy and Paste Component then convert it into Compoennt
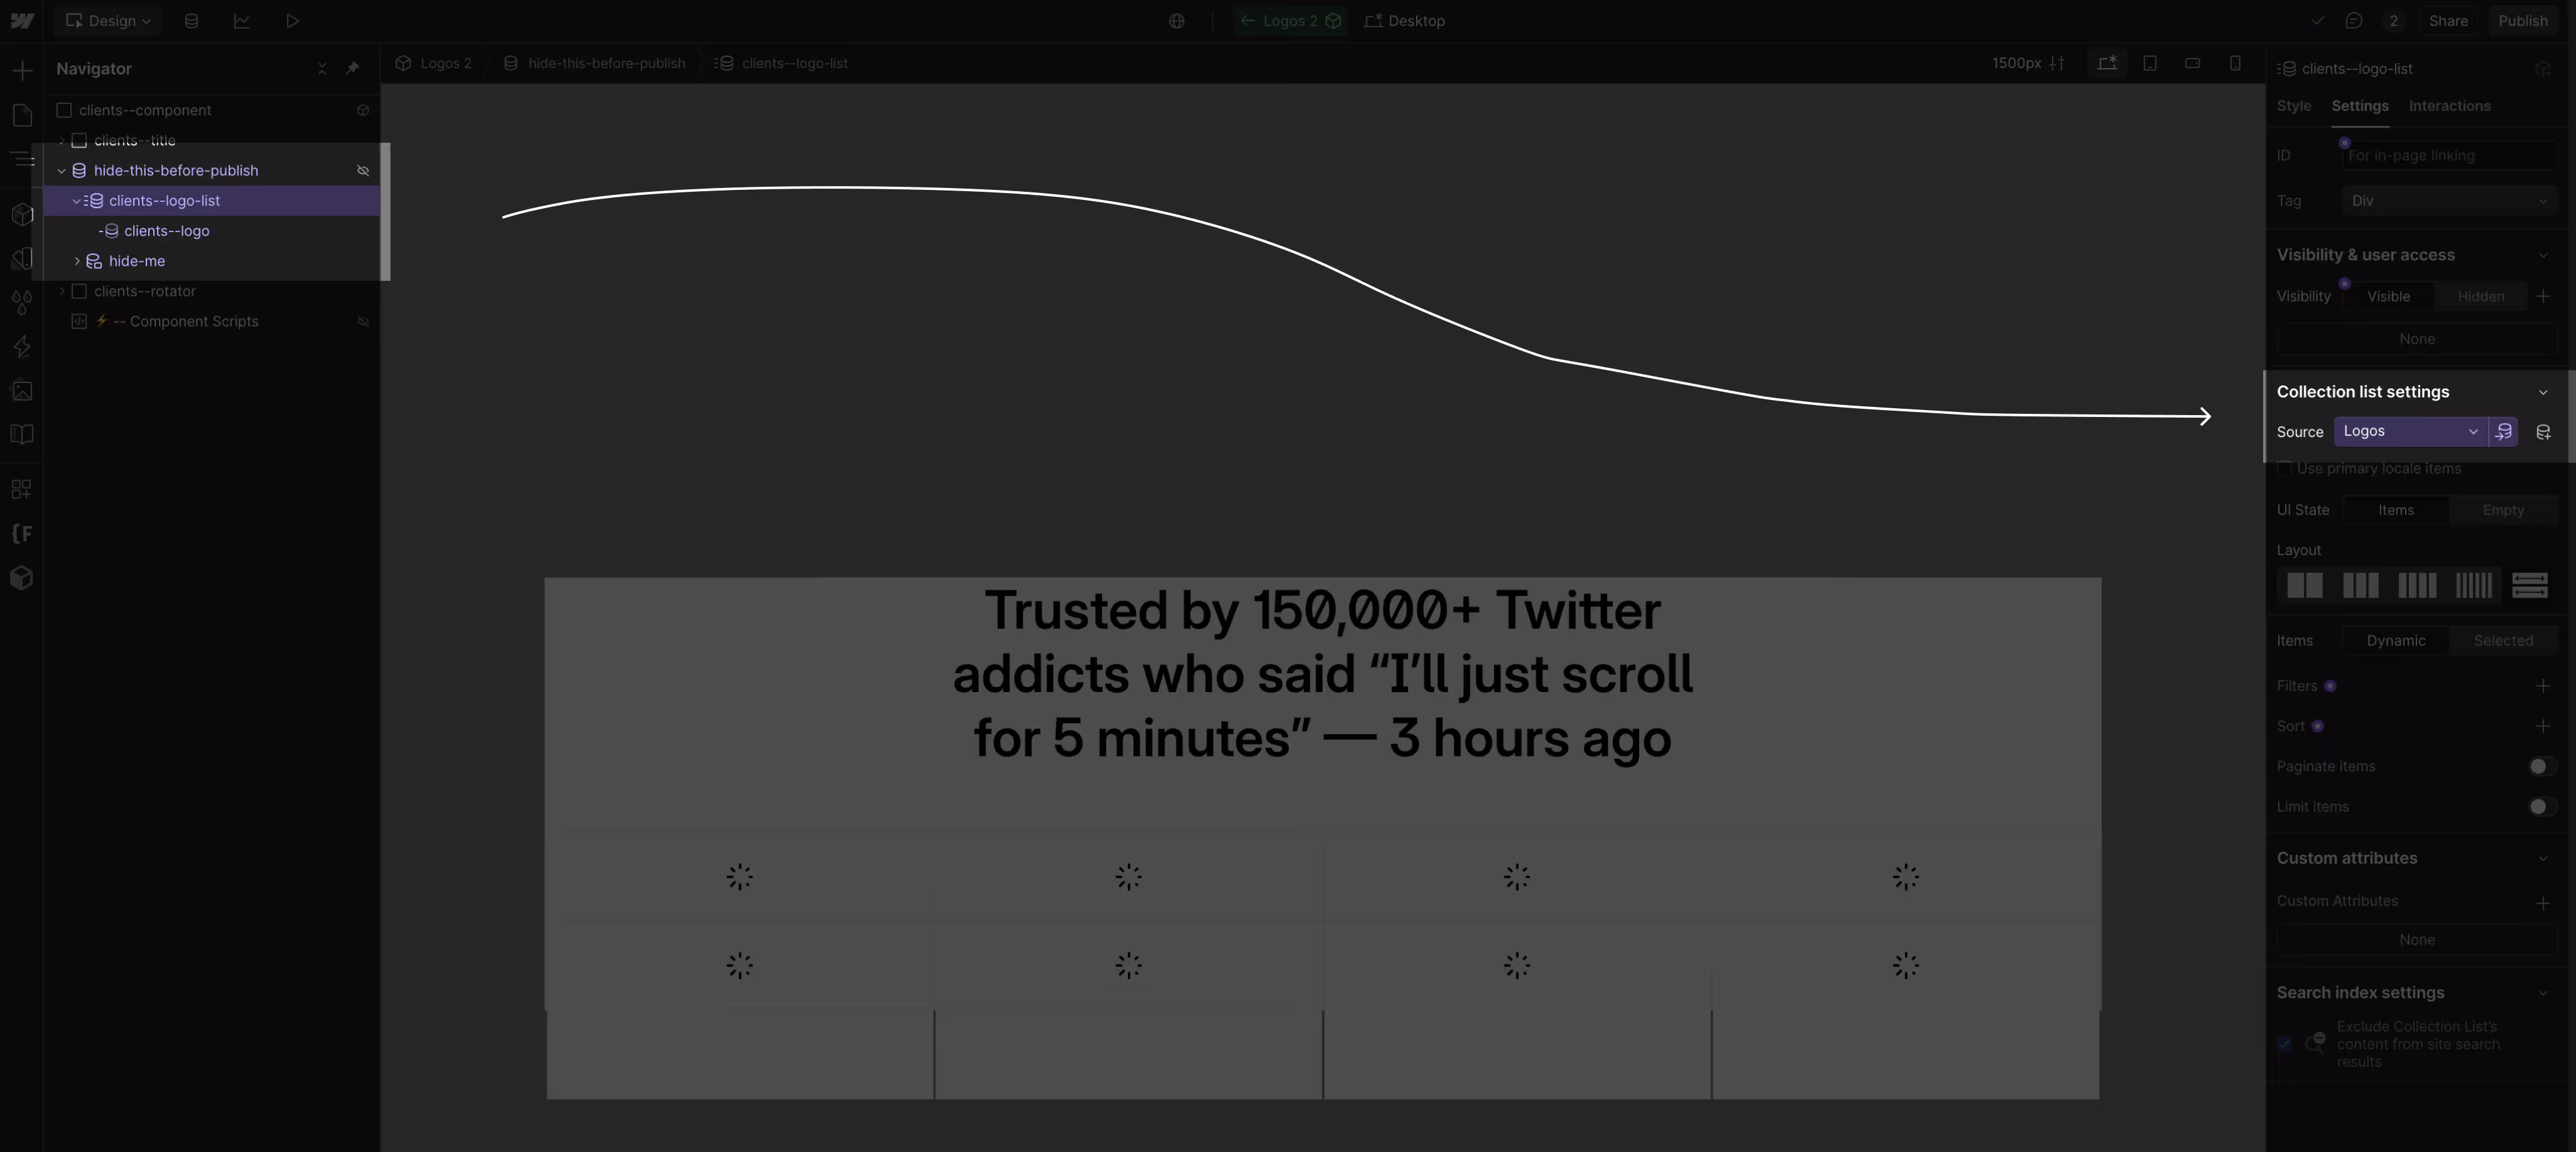
After creating the component:
① Find the CMS Collection inside.
② Bind the Collection to the one you want to use.
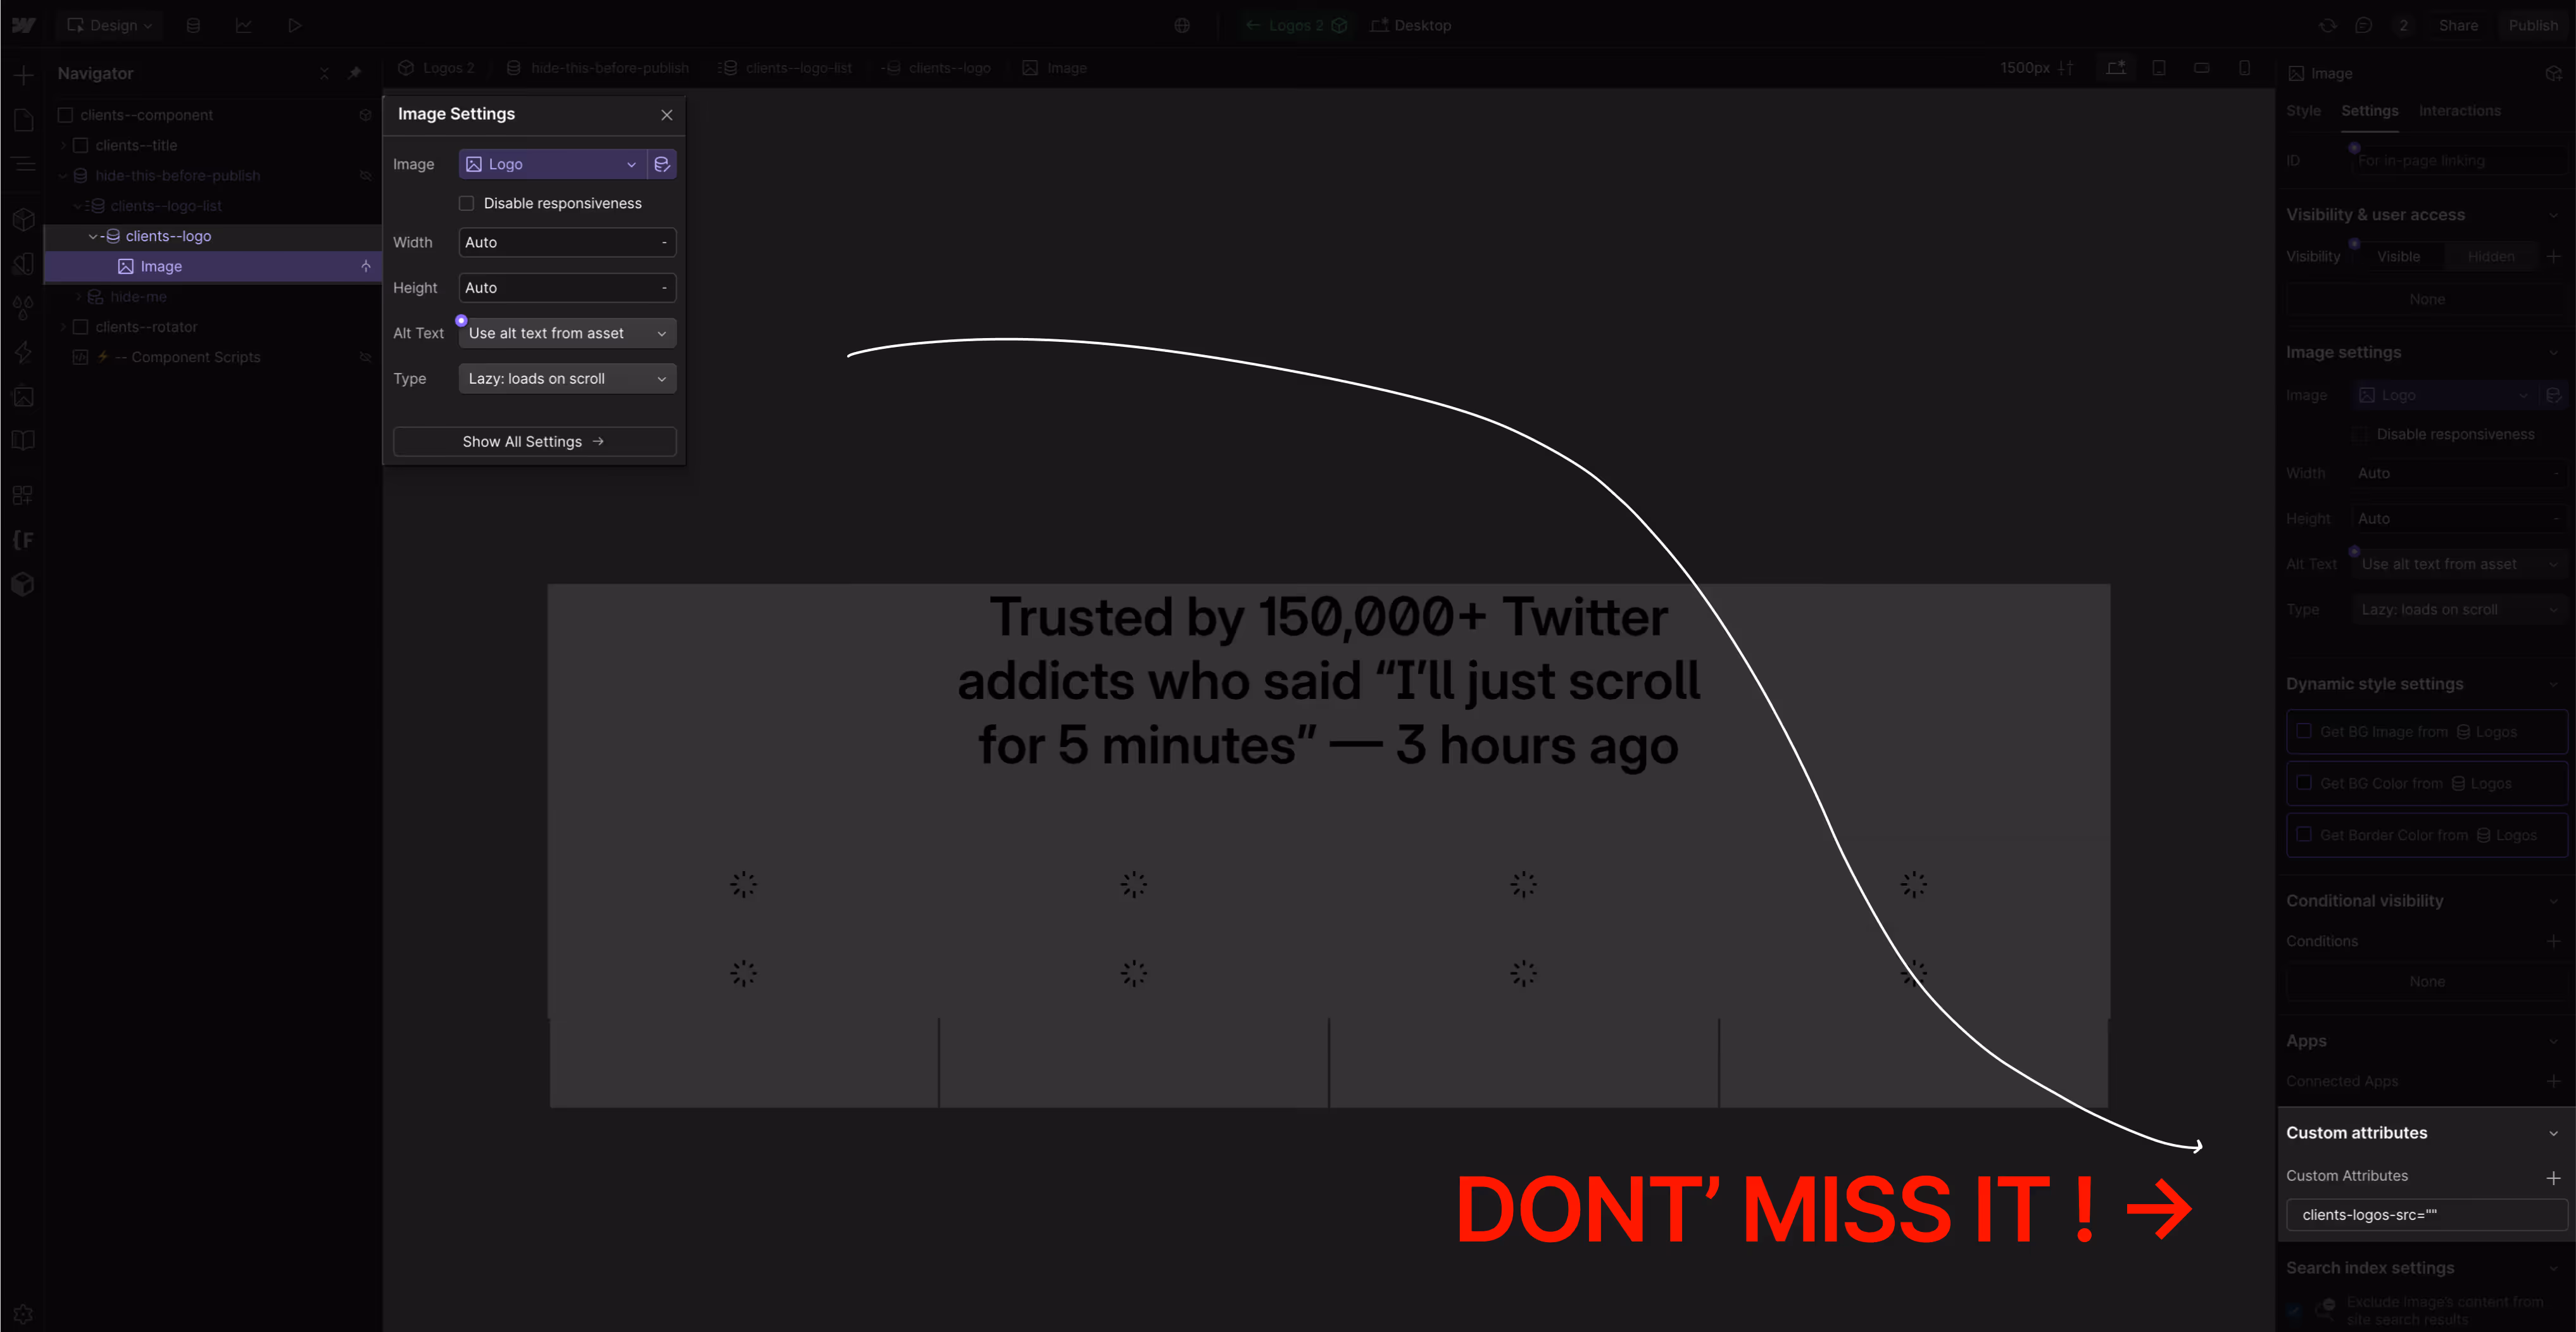
③ Add an <img> element and bind your logo to it and..
④ ❗ IMPORTANT ❗
add the custom attribute:clients-logos-src
to <img> element.
If everything is set up correctly, click the Preview button to see the Rotator.
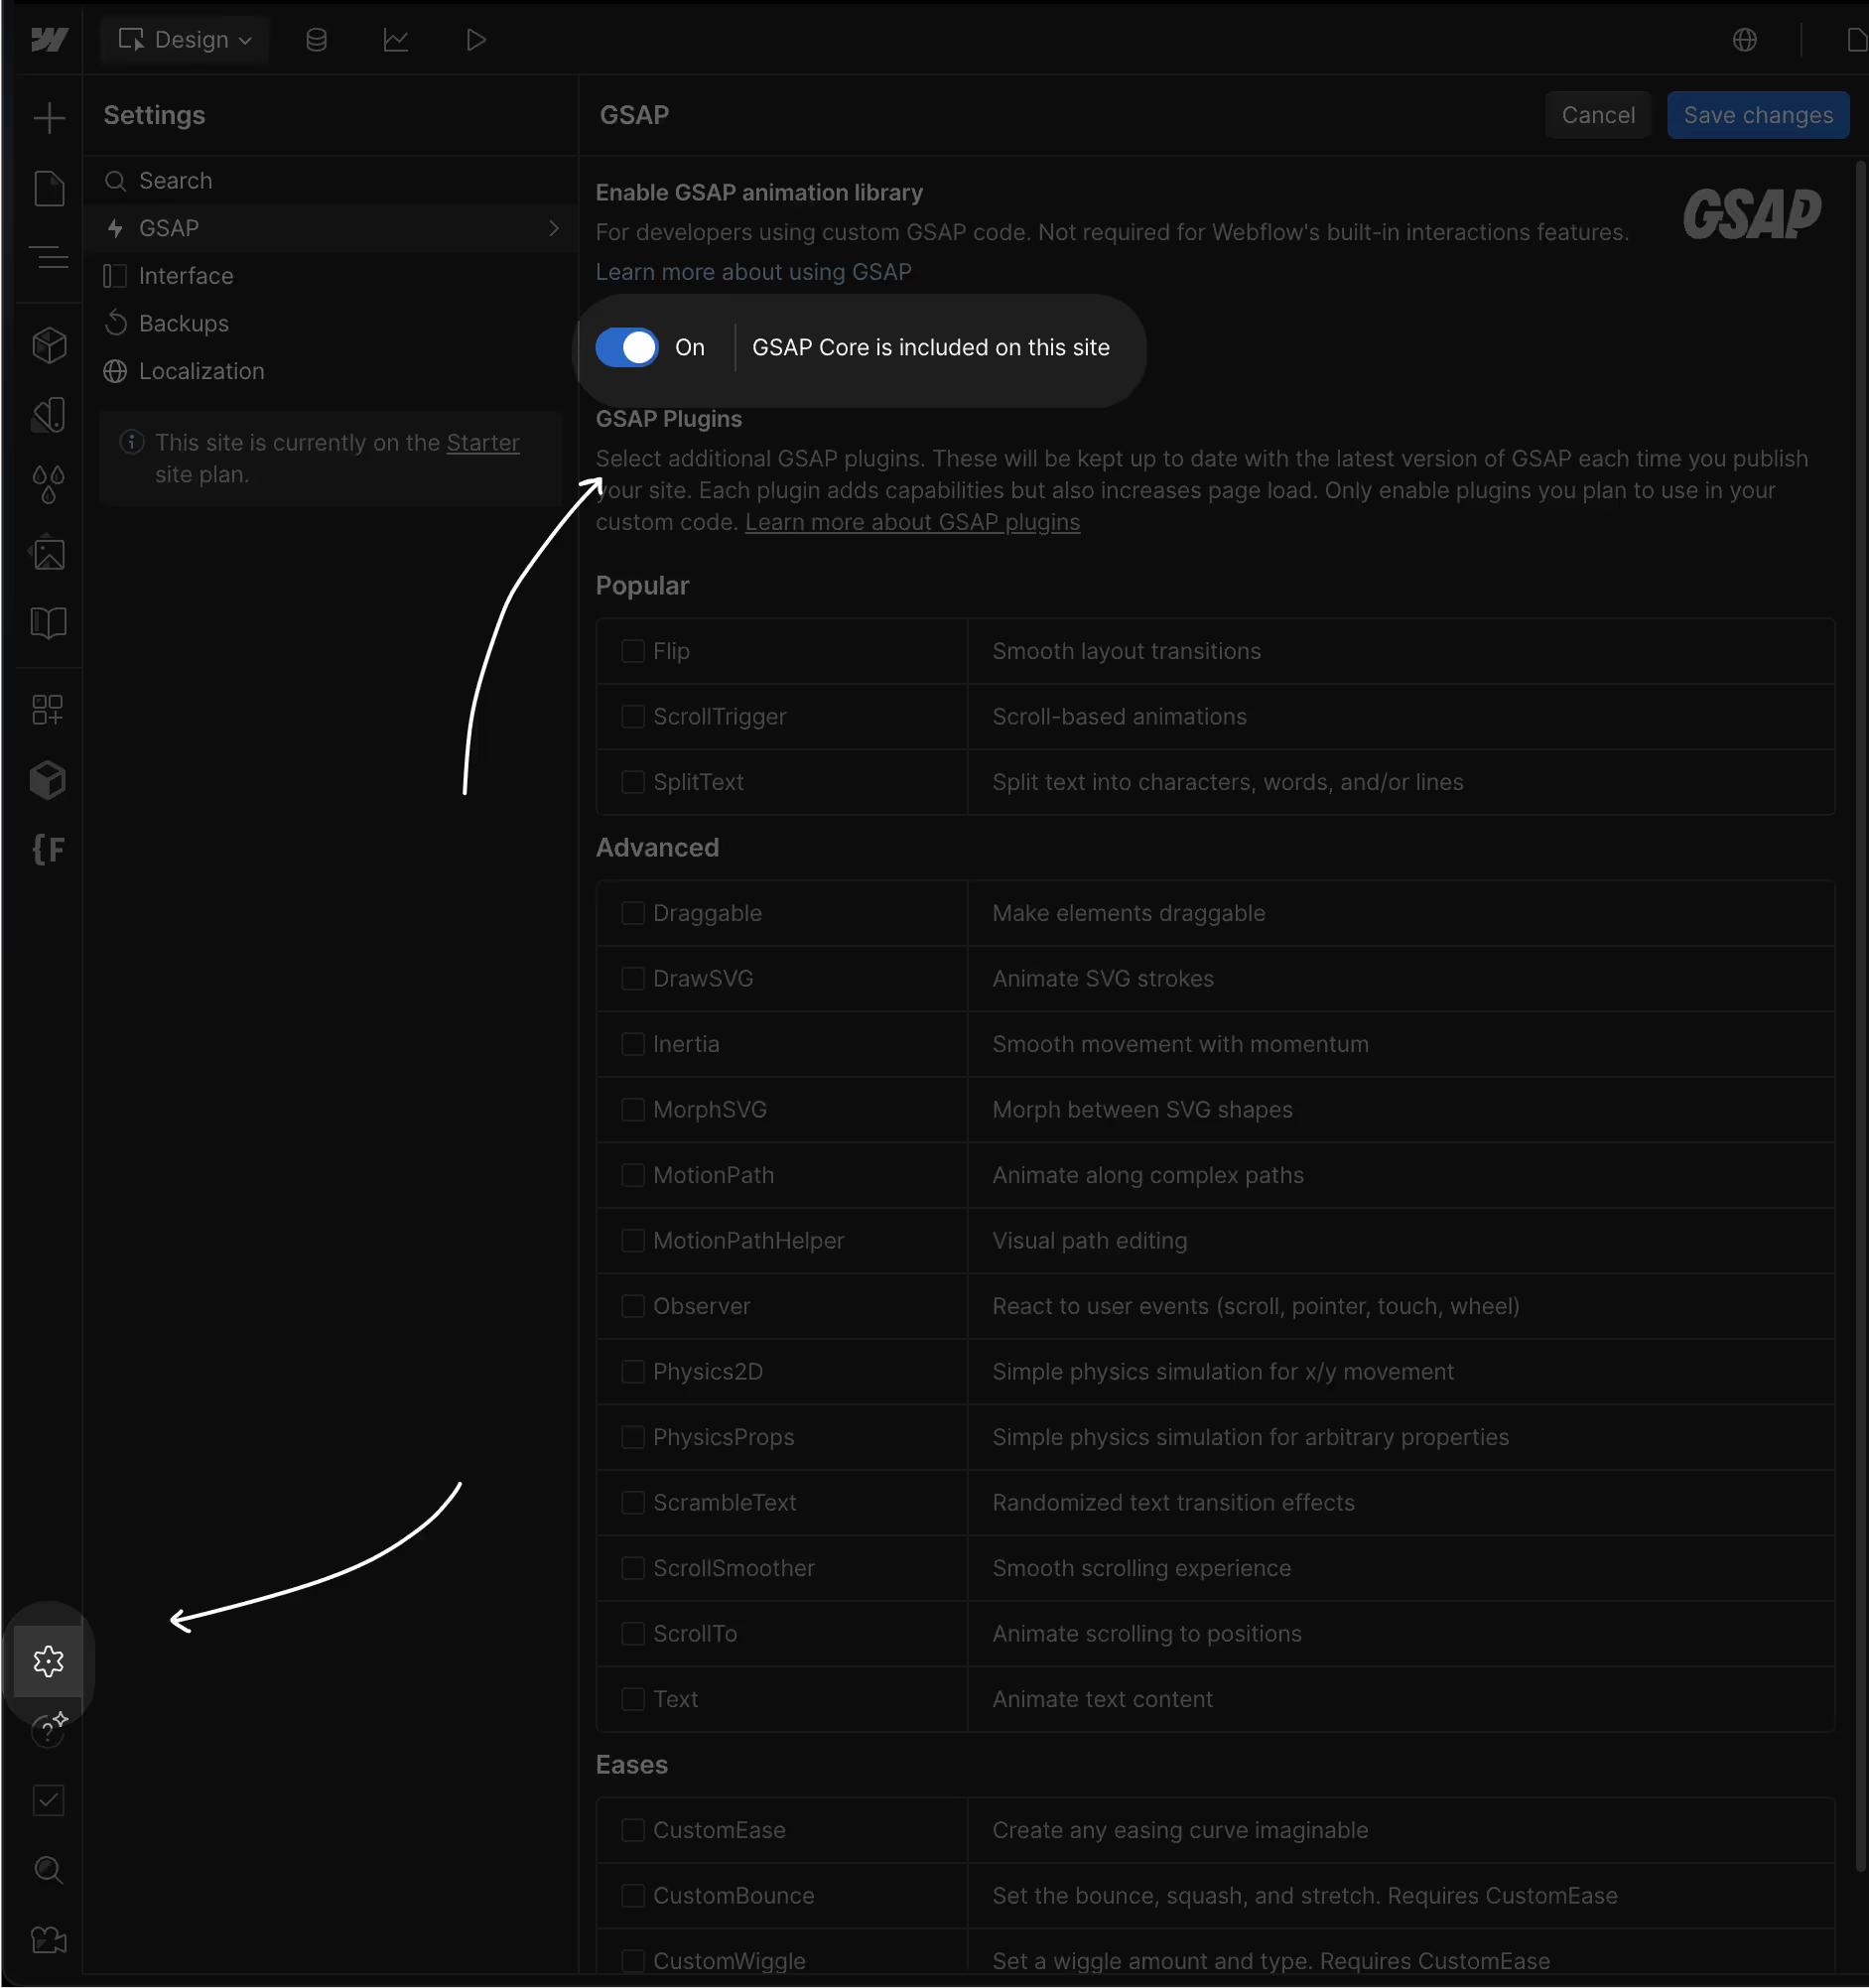
Don’t forget to enable custom code 👉

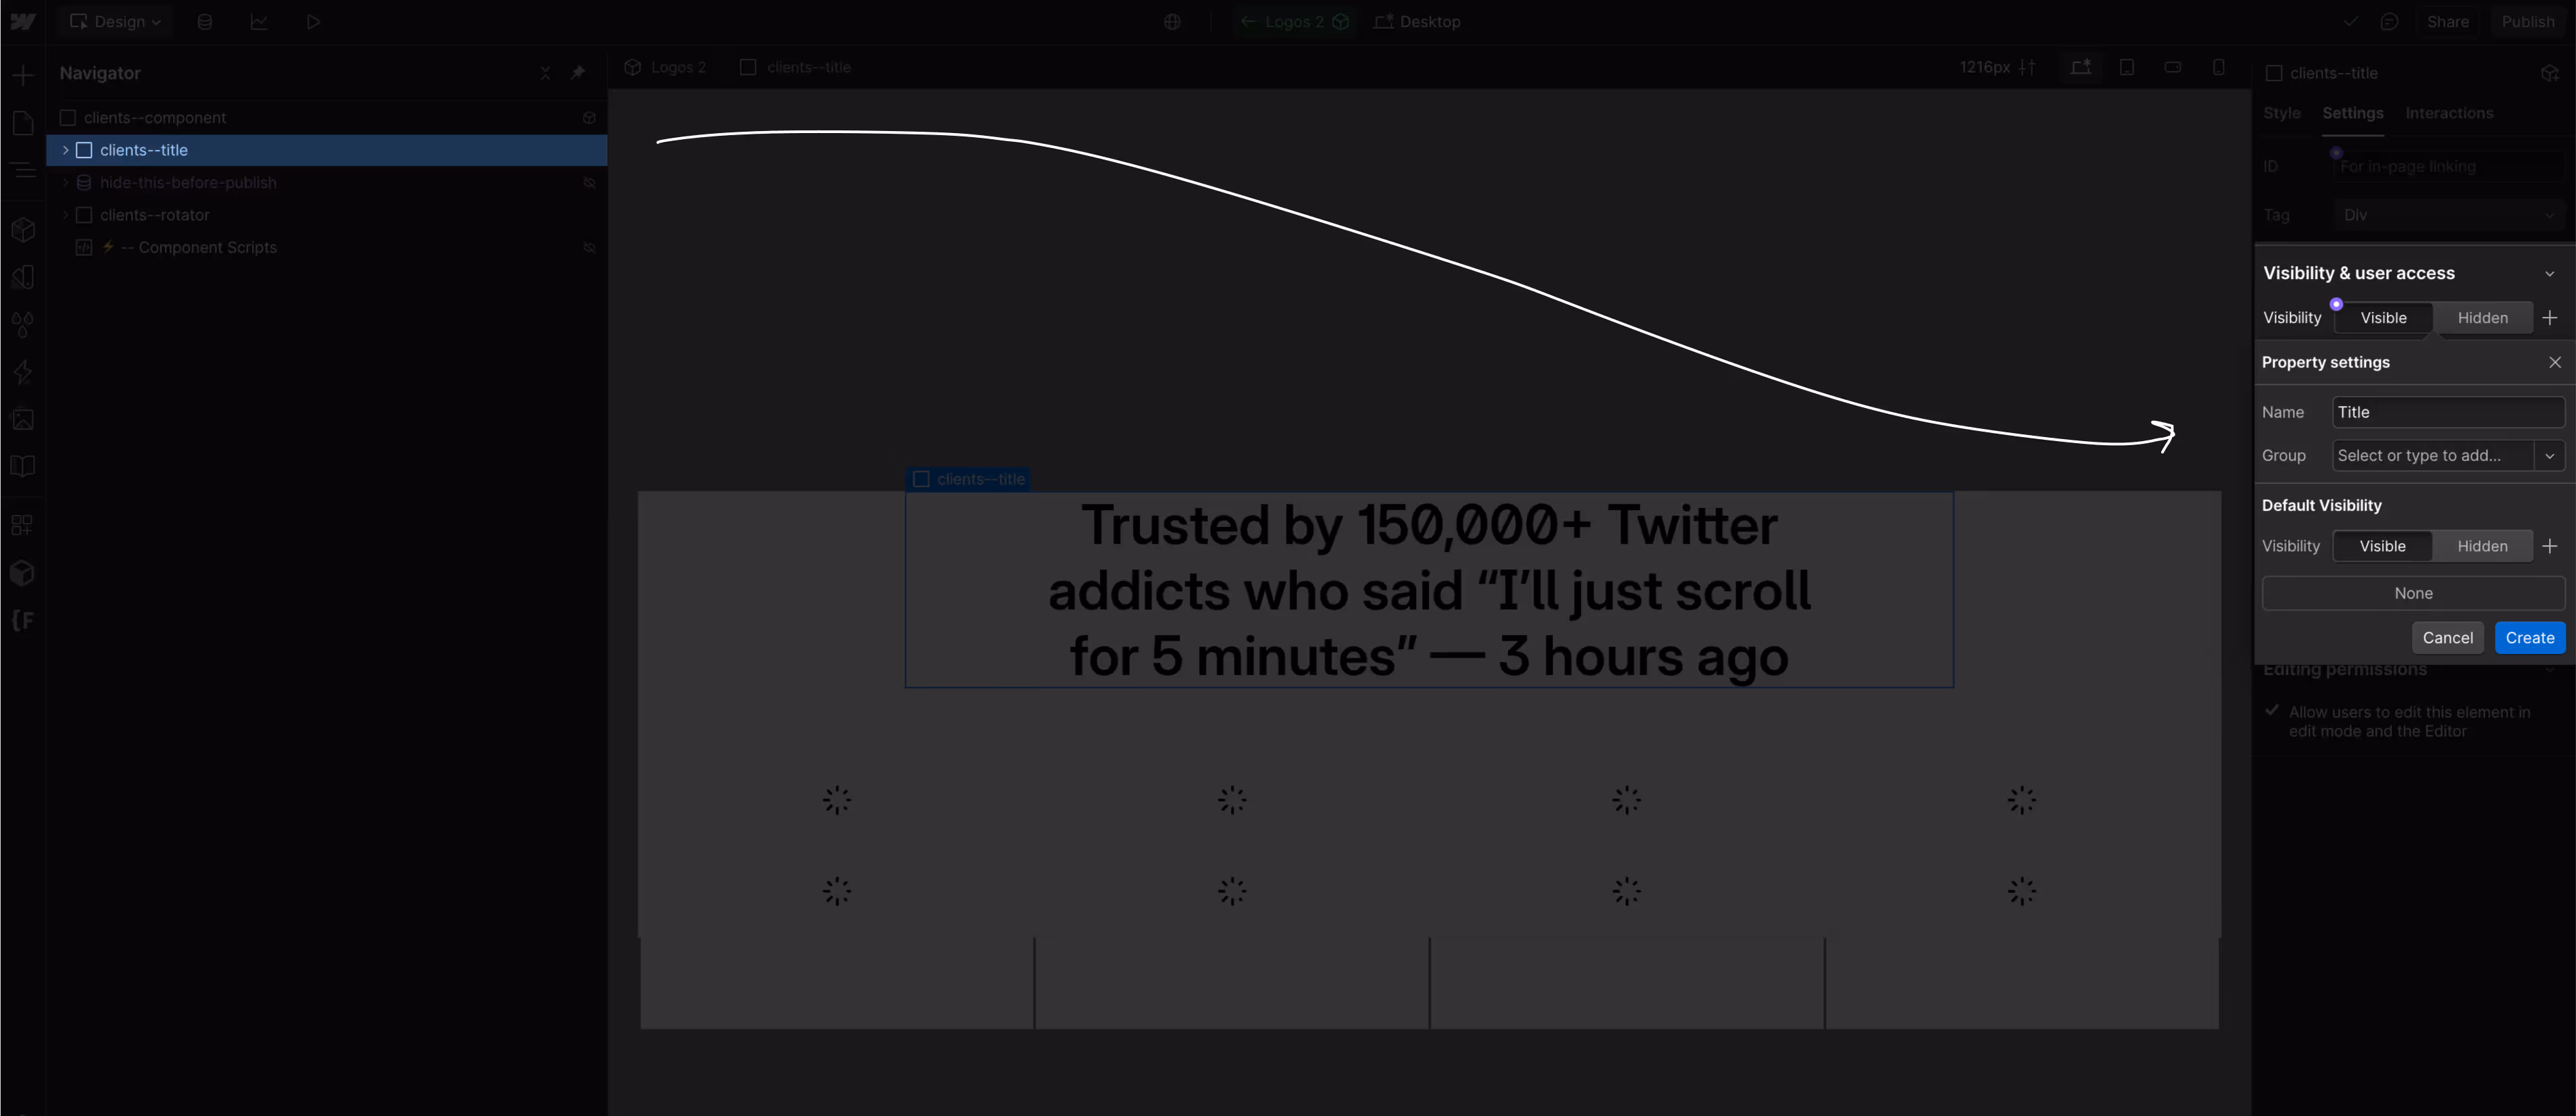
First, let's set up the toggling title:
① Click on the parent div
② Set the component visibility properties.
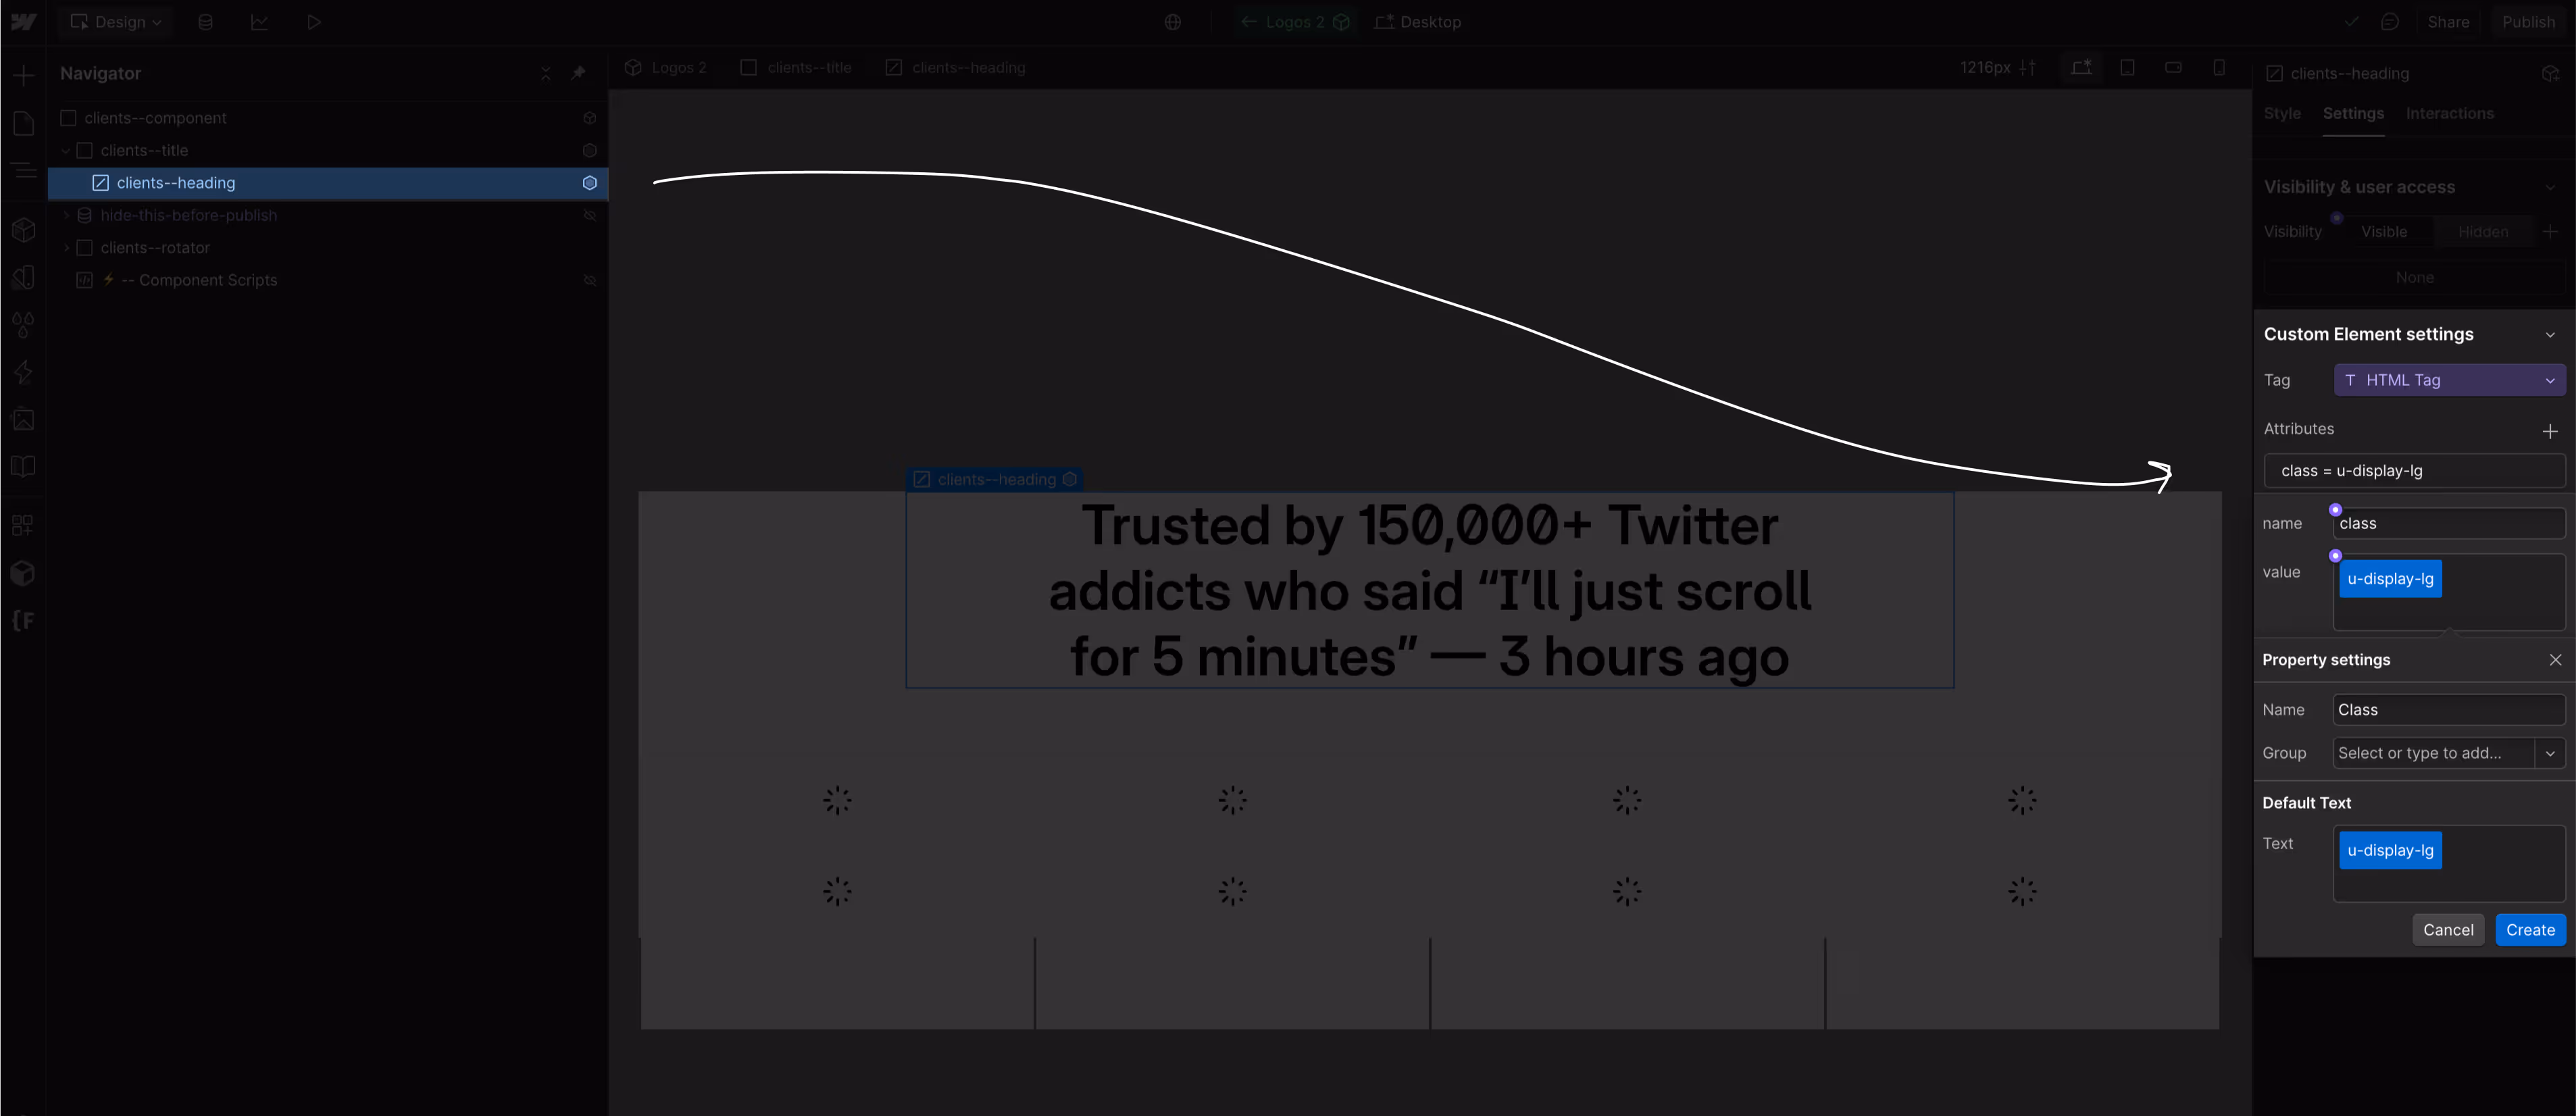
① Click on / CUSTOM ELEMENT inside the div
② Then bind the class to a property.
TIP: By default, Webflow doesn’t allow setting a class attribute — but using a custom element unlocks this.
You can now change it to any class you need to overwrite the default class.
If you want extra help with these classes, I recommend the Lumos Extension for Webflow
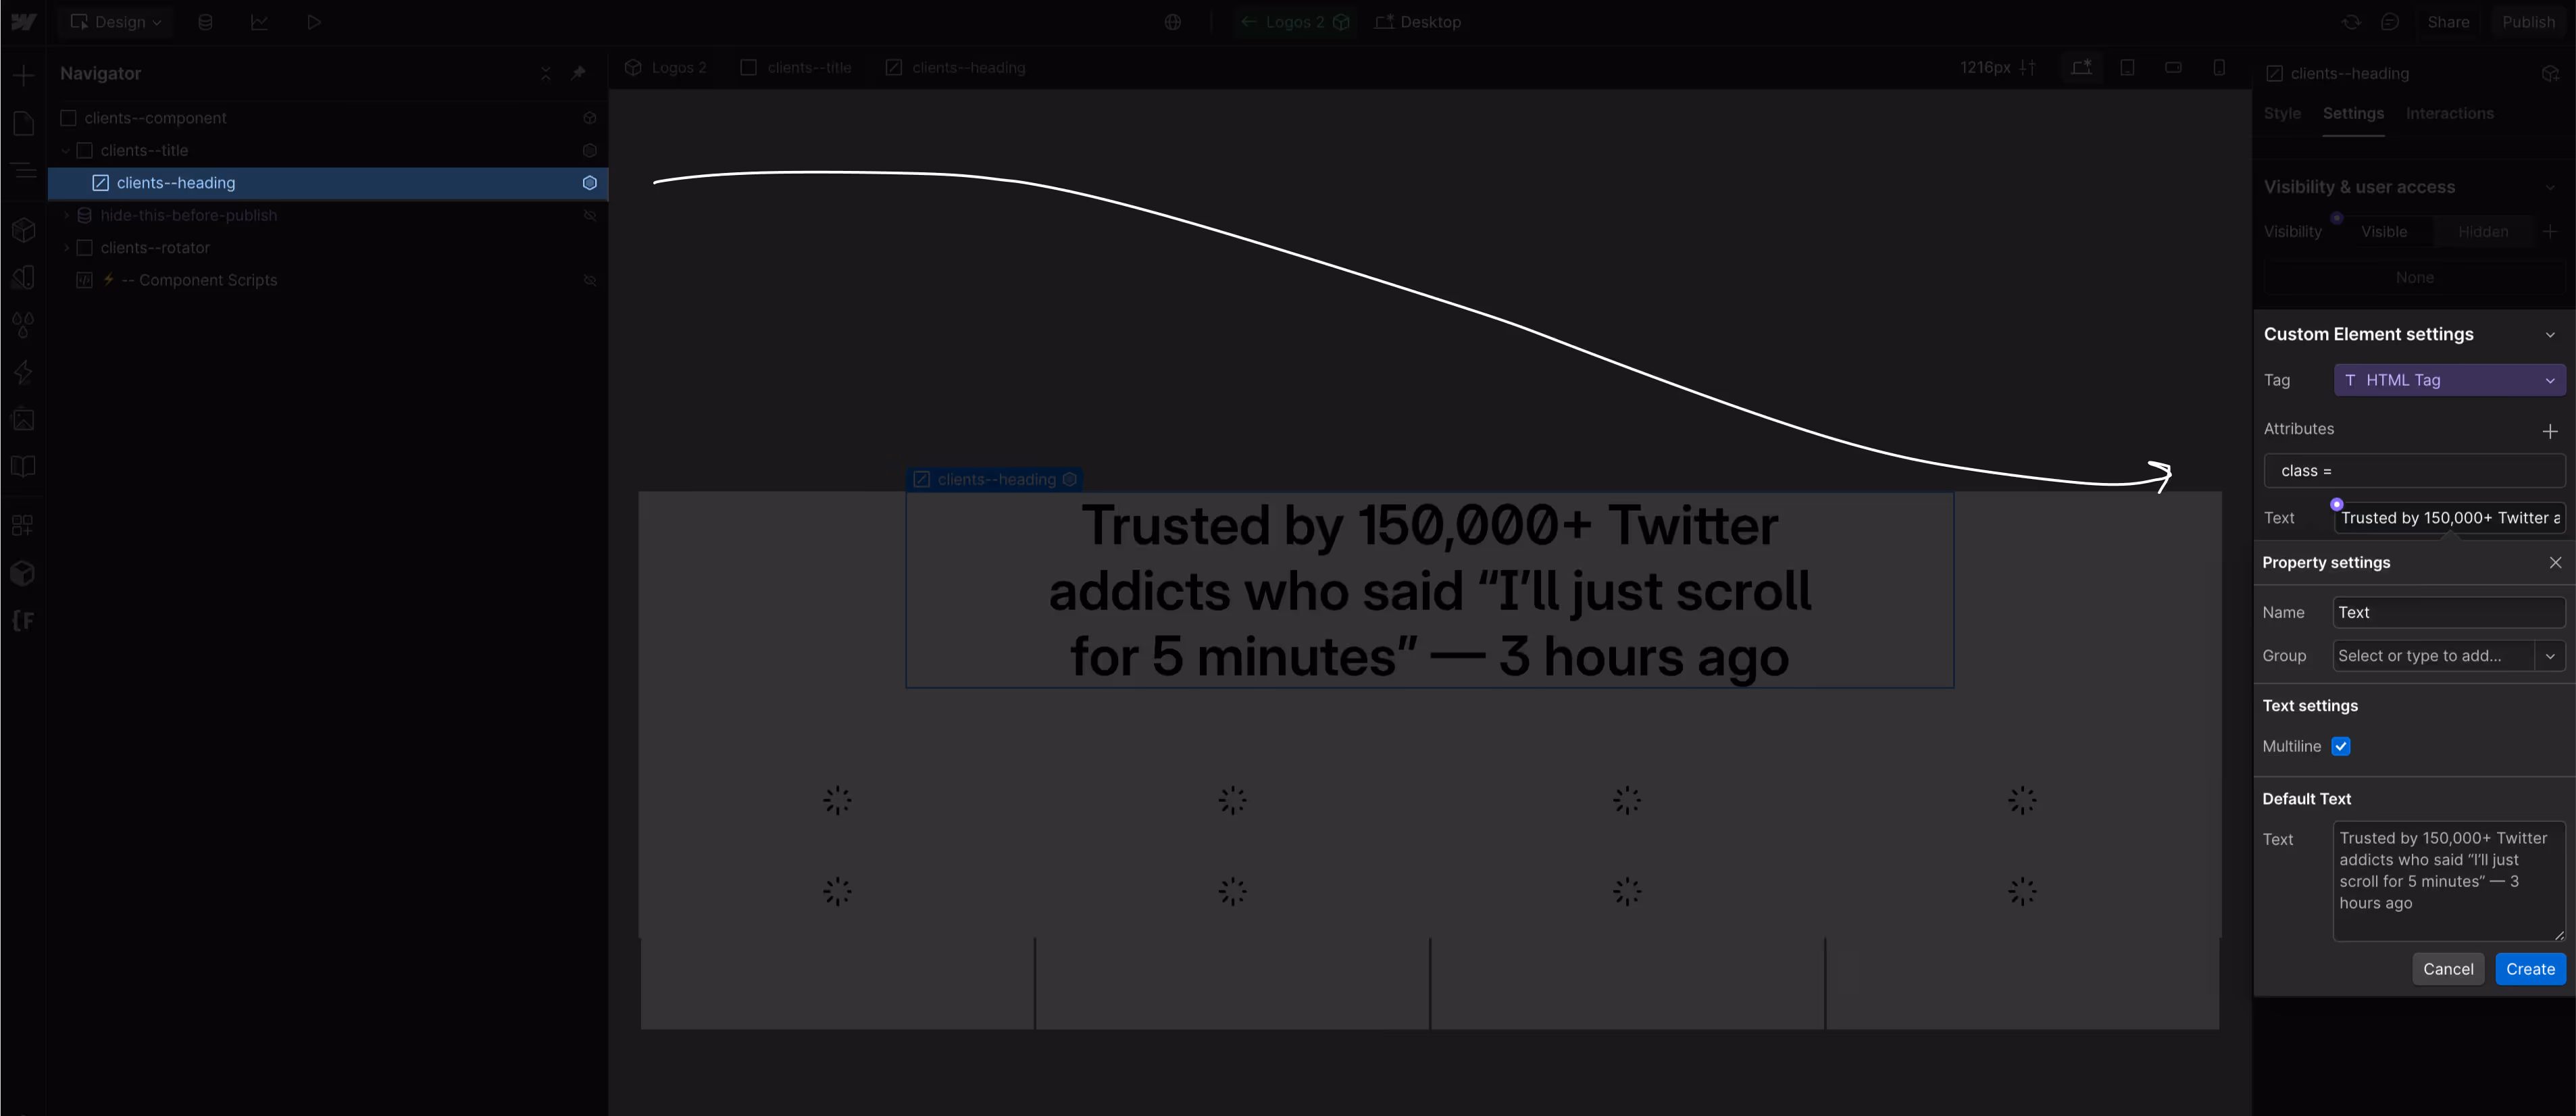
Now let's create text properties. Toggle the Multiline checkbox to make the input larger.
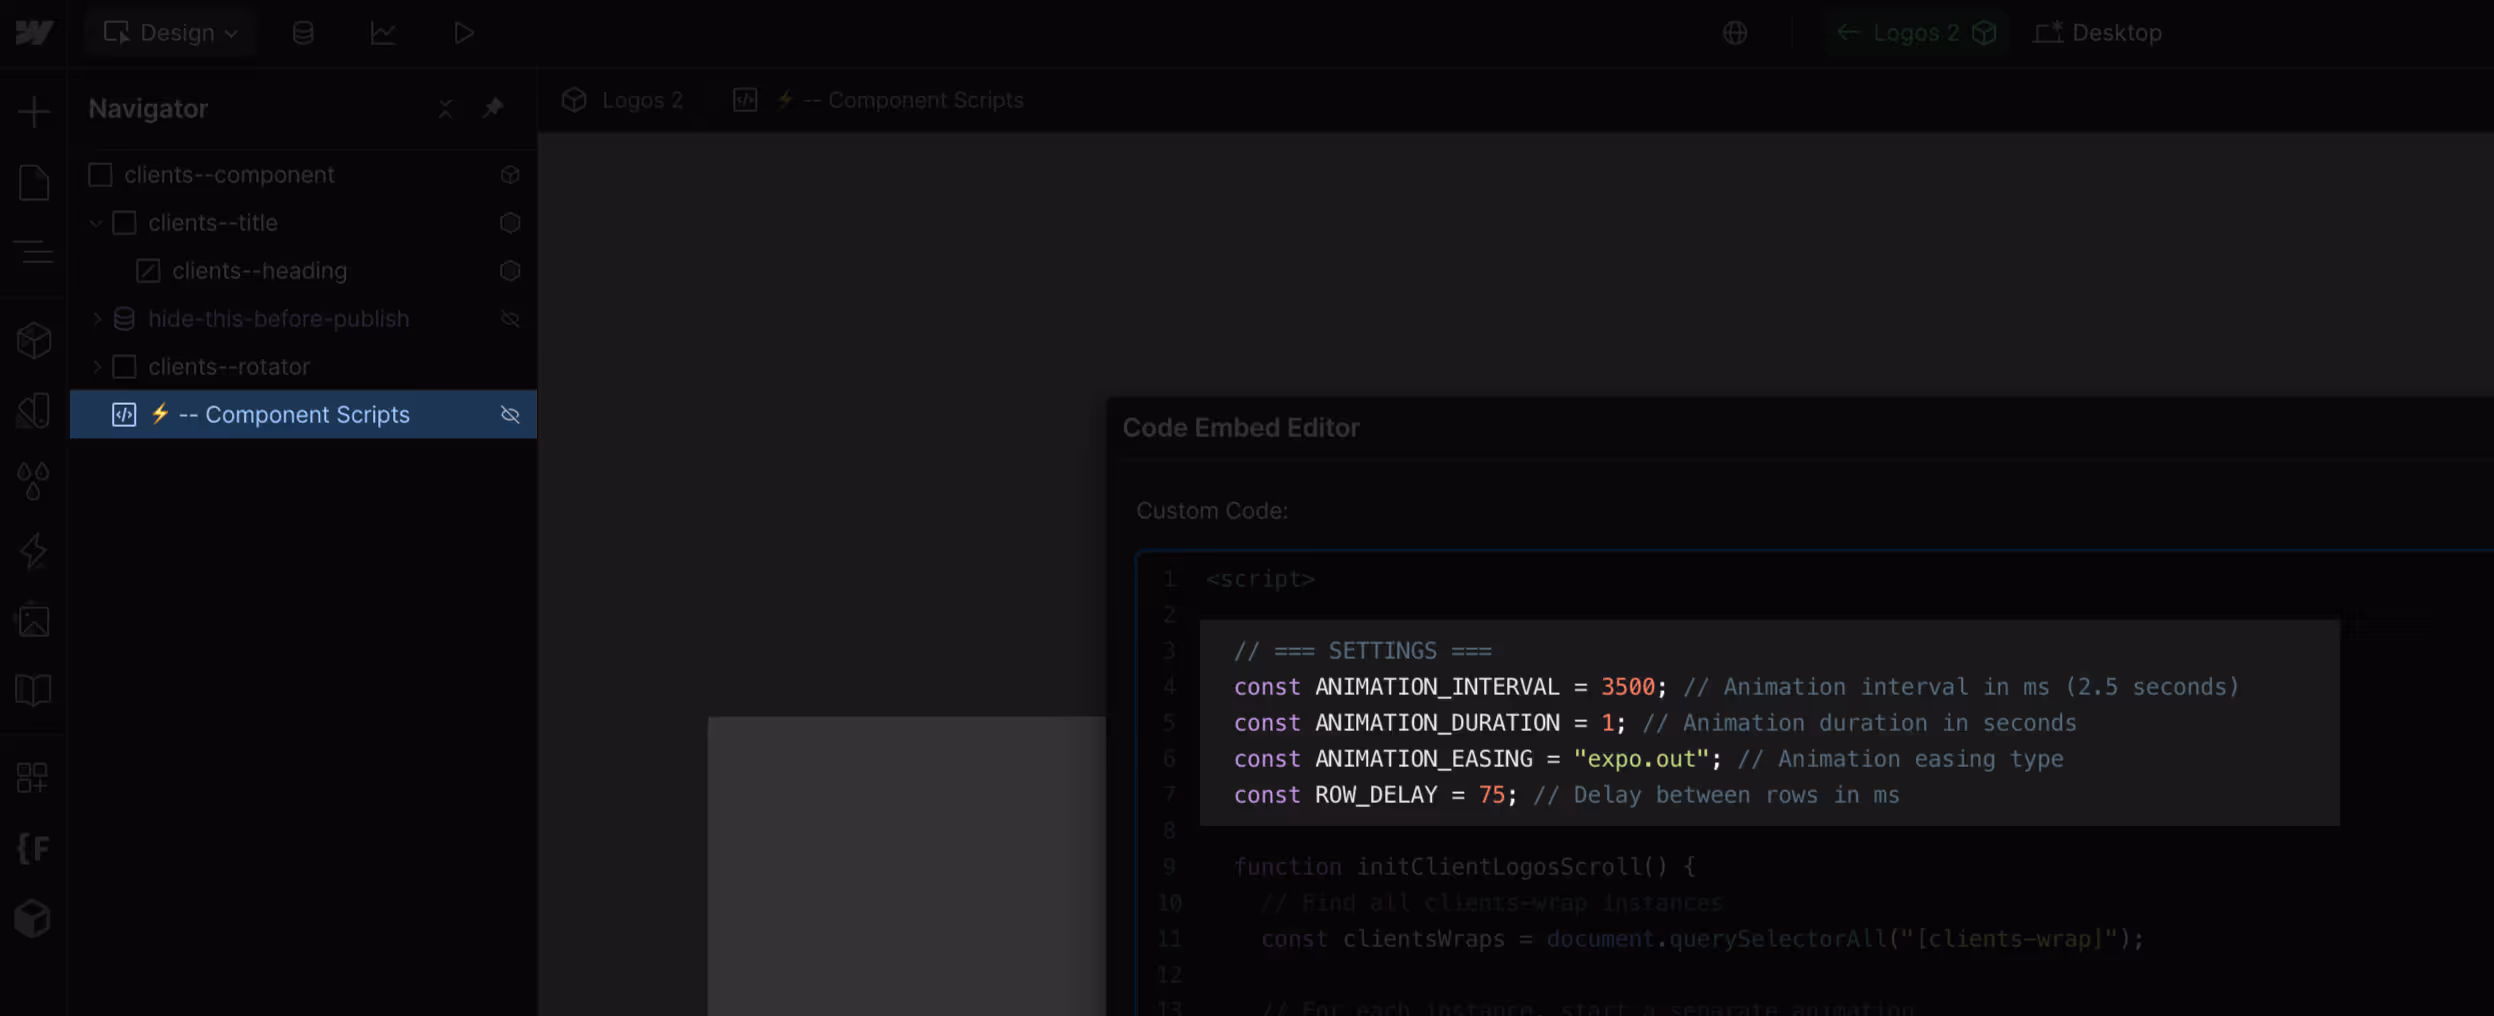
To edit the feel of animation:
① Open Component
② Open ⚡ – Component Scripts
③ Adjust the settings

Basic
Text color is inherited from the parent
The Same for Inverted - here we are overriting only:
① Border Color
② Logo IMG > Filters > Invert
BONUS
Static — show Collection list and hide the .clients--rotator div